i think it is time to provide some updates for my project.
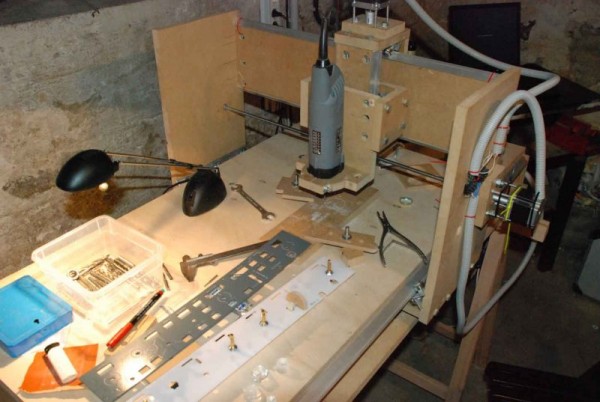
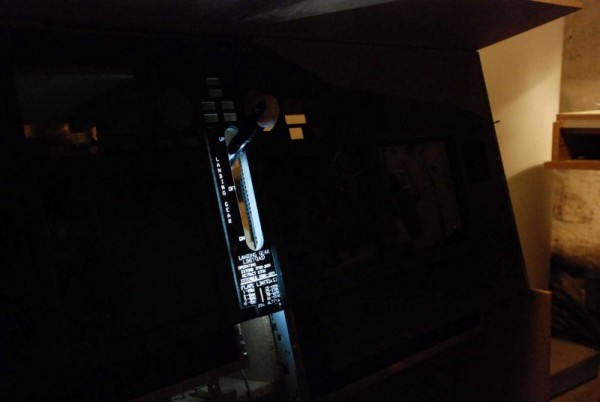
After i got my CNC machine running (with fixed chinese controller card TB6560) it is possible to do my own parts. So far the MIP structure is nearly finished and the first panel is backlighted. I use the SMD LED stripes for backlighting.
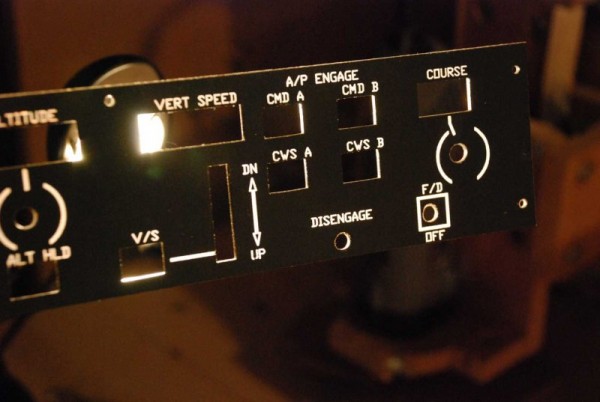
At the moment i work on the MCP. The front panel is finished and engraved (with 0.5 mm end mill) and backplate also ready. I do not use a 45 or 60 degree engraving mill because i have issues with the height of the panel. What i do is to set Z Axis to Zero for each new block of letter i want to engrave. The workbed is not 100% even so this is the solution which works good for me.
I did test with a self constructed engraving head but no big success.
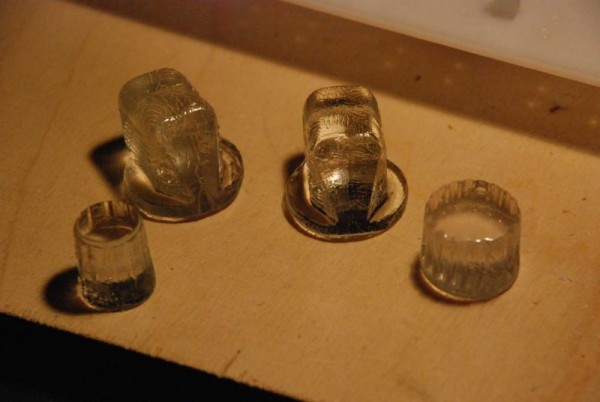
Last week i received my first 500 € shipment from Open Cockpits with important components like master card, output card, switches, buttons and knobs. I did some molding tests to make my own knobs with silicon form and epoxy resin and you can see in the picture what comes out if you can´t wait till the mold is dried.
I try to get the MIP, MCP and EFIS Panels finished till i´ll move the whole structure into my cockpit room. For software i discovered the PROSIM 737 solution which seems perfect for my needs – not to mention that the package is free at the moment. Next steps will be all the wiring and of course many hours learning SIOC.


