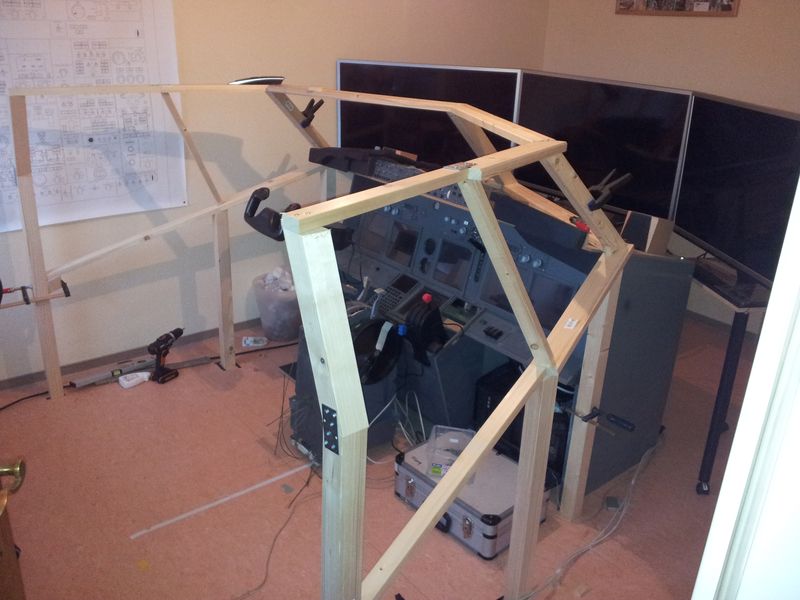
I was able to aquire a set of original yokes. They have been shipped and will find a new home in my cockpit. I will post more detail infomations when i start the project of installation…
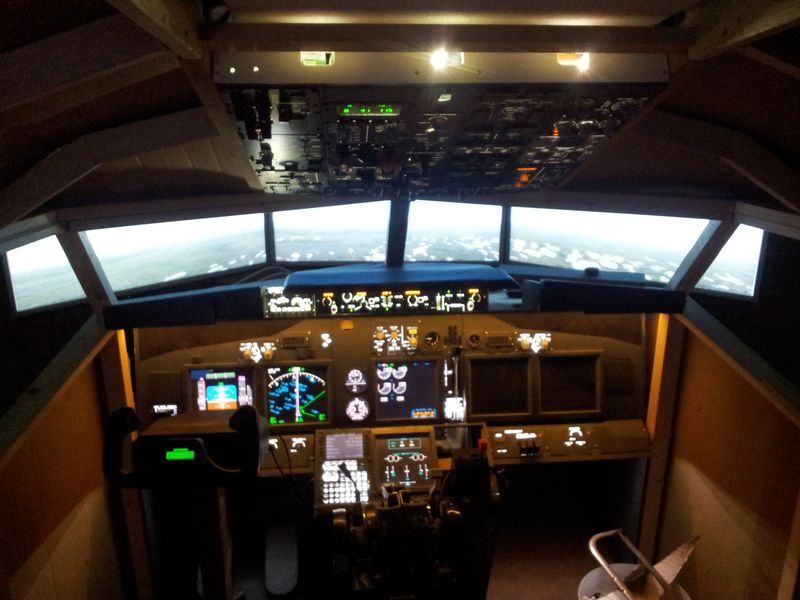
And check the new page about the Overhead panel – i added lots of information.
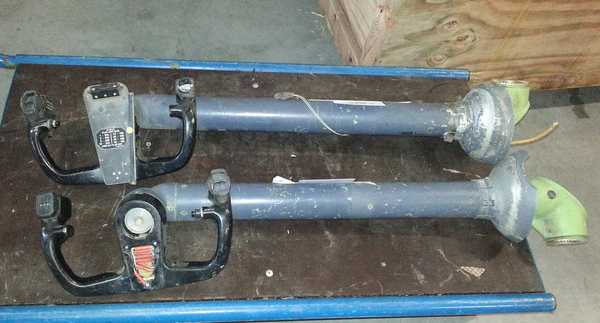
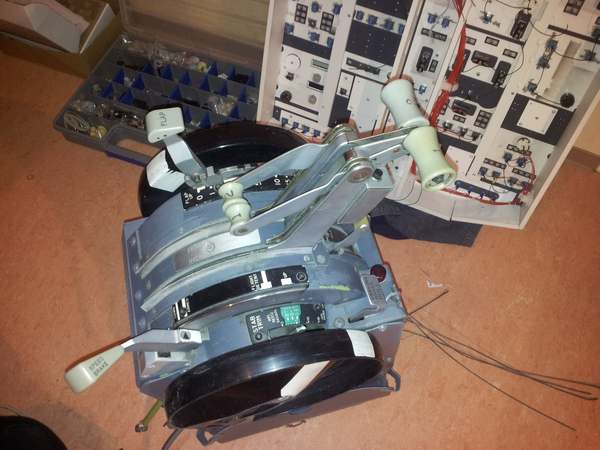
waiting for shipment